
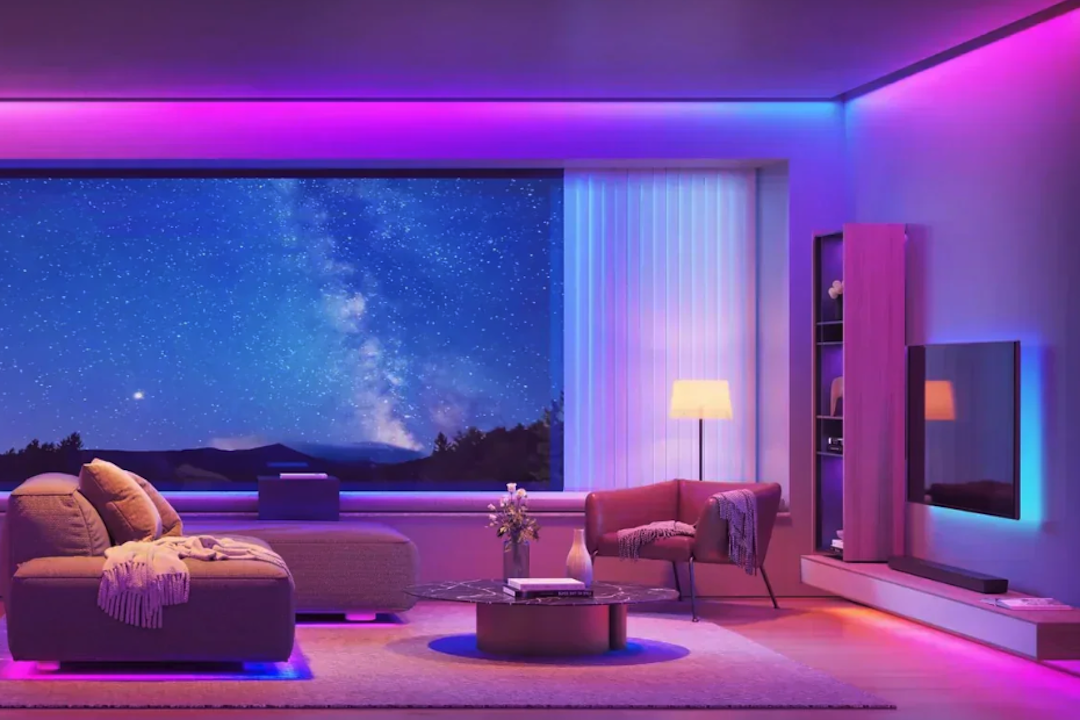
LED Strip Light Issues & Easy Repair Tips for Common Problems
So, your LED strip lights are acting up? Don’t worry, it’s a common story, and often, the fix is much simpler than you might think. Most issues with LED strips boil down to a few key culprits: power problems, connection woes, or occasionally, a faulty component within the strip itself. The good news is, with a little troubleshooting and some basic tools, you can usually get them glowing brightly again without needing to replace the whole setup. We’ll walk you through identifying these common problems and provide practical, easy-to-follow repair tips.
Common Symptoms and What They Often Mean
Before diving into repairs, it helps to understand what your lights Artboxhome are trying to tell you. Different symptoms often point to different underlying issues. Let’s break down some of the most frequent complaints.
The Lights Are Completely Off
This is perhaps the most frustrating symptom, as it gives you no visual cues. If your entire strip (or multiple strips in a connected system) is completely dark, it almost always points to a power delivery issue or a major break in the circuit.
Some Sections Are Off, Others Are On
This is a classic sign of a localized problem. LED strips are typically made up of individual segments, each with its own tiny circuit. If only part of the strip is dark, it suggests a problem within that specific segment or a connection leading to it.
Flickering or Dimming
Flickering can be incredibly annoying and usually indicates an unstable power supply or a loose connection. Dimming, especially if it’s inconsistent across the strip, often points to insufficient power, voltage drop, or a struggling power supply.
Incorrect Colors or Zones of Wrong Color
If your RGB or RGBW strips are showing the wrong colors, or certain sections are stuck on a particular color, this points to an issue with the data signal or the integrated circuit (IC) controlling that specific segment. For non-addressable strips, it might indicate a short between color channels.
Hot Spots on the Strip
While a little warmth is normal, excessively hot spots can be a red flag. This often means too much current is flowing through a specific point, usually due to a short circuit or a poorly made connection, and can be a fire hazard if not addressed.
Power Supply and Connection Troubleshooting
A significant percentage of LED strip issues originate from the power supply or the connections. These are often the easiest to check and fix.
Checking the Power Supply Unit (PSU)
The PSU (also known as a transformer or driver) is the heart of your LED strip system. If it’s not providing stable power, nothing else will work correctly.
Verifying Input Power
First, ensure the PSU itself is receiving power from the wall outlet. Check that the outlet is live by plugging in another appliance. If the outlet is dead, that’s your problem! Also, ensure the PSU’s plug is fully inserted into the outlet and any inline switches are in the “on” position.
Measuring Output Voltage
This is where a multimeter becomes incredibly useful. Set your multimeter to DC voltage and connect the probes to the output terminals of your PSU. Most LED strips operate on 12V or 24V DC. The reading on your multimeter should be very close to the specified voltage on your PSU label (e.g., 12.0V to 12.5V for a 12V PSU). If it’s significantly lower, fluctuates wildly, or reads zero, your PSU is likely faulty and needs replacing.
Assessing PSU Capacity
Sometimes, a PSU might be working, but it’s simply not powerful enough for the length of LED strip you’re running. Each LED strip has a power consumption per meter (e.g., 14.4W/meter). Multiply this by the total length of your strip to get the total wattage required. Your PSU’s wattage rating should be at least 10-20% higher than this total. If your PSU is undersized, the lights might appear dim, flicker, or certain sections might not light up at all, especially at the end of longer runs due to voltage drop.
Inspecting Wiring and Connectors
Loose or damaged wiring and connectors are frequent culprits behind flickering, intermittent operation, or sections going completely dark.
Examining DC Jacks and Plugs
The barrel jack connector (the round plug that goes into your LED strip controller or directly into the strip) is a common point of failure. Check for any bent pins inside the jack or broken wires at the base of the plug. Ensure it’s securely seated. Wiggle it gently – if the lights flicker, you’ve found a loose connection.
Checking Wire Connections
Wherever wires are connected – whether soldered, crimped, or using quick-connectors – inspect them closely. Look for frayed wires, exposed copper touching other wires (short circuit), or wires that have pulled out of their terminals. Re-seat or re-terminate any loose connections.
Assessing Quick-Connectors
These small plastic connectors are convenient but can sometimes fail. They work by piercing the strip’s copper pads. If not properly aligned or if the strip shifts, the connection can be lost. Gently open the connector and ensure the strip is fully inserted and aligned with the metal pins inside. You might need to reseat the strip or even try a new connector.
Strip Light Segment Issues and Repair
Even with perfect power, issues can still arise within the LED strip itself. These often manifest as sections not lighting up or displaying incorrect colors.
Identifying Dead Sections
If a portion of your strip is dark while the rest is working, you’ve got a dead section. LED strips are designed in segments, typically every 3 LEDs for 12V strips or every 6 LEDs for 24V strips. Each segment has its own resistors and connections.
Locating the Cut Marks
LED strips have designated “cut marks” (usually marked with a scissors icon and copper pads) where they can be safely cut. These marks indicate the end of one segment and the beginning of another. If a segment is dead, the problem lies within that segment or the connection immediately preceding it.
Visual Inspection for Damage
Carefully inspect the dead section and the areas just before and after it. Look for:
- Physical Damage: Kinks, tears, or crushed areas on the strip.
- Burnt Spots: Small black marks on the white or colored coating of the strip, often around LEDs or resistors. This indicates overheating and potential component failure.
- Water Damage: Discoloration, corrosion, or residue if the strip was exposed to moisture.
- Loose Components: Occasionally, a tiny resistor or LED might appear to be detached or partially lifted from the strip’s circuit board.
Repairing a Dead Segment
Once you’ve identified a dead segment, you have a few options depending on the severity and your comfort level with small repairs.
Cutting Out and Replacing (If Possible)
For longer runs, the easiest fix for a completely dead segment (especially if there’s visible damage like burning) is to cut out the faulty section at the nearest cut marks. You can then replace it with a new piece of LED strip of the same type and connect it using solderless connectors or by soldering. Ensure you match the polarity (+ to + and – to -) and color channels (R to R, G to G, B to B).
Bridging a Small Break with Solder
If you find a tiny hairline crack in the copper trace on the strip or a visibly broken resistor, you might be able to bridge it. This requires a fine-tipped soldering iron and some delicate work.
- Carefully scrape away the waterproof coating over the broken trace or resistor pads.
- Apply a tiny bit of solder to bridge the gap. Be very careful not to short out adjacent traces.
- Test the strip. If it works, you can apply a small dab of clear silicone or liquid electrical tape to protect the repair.
Resoldering Loose Components
If an LED or resistor appears to be barely attached, you might be able to carefully reflow the solder.
- Gently press down on the component while heating its solder pads with a fine-tipped soldering iron.
- Add a tiny amount of fresh solder if needed to ensure a good connection.
- Be quick to avoid overheating the component or the strip itself.
Addressing Color Issues (RGB/RGBW Strips)
If your multi-color strip is showing incorrect colors (e.g., a section stuck on red, or blue not working at all), it’s usually an issue with one of the color channels.
Checking for Short Circuits
Sometimes, the copper pads for two different color channels (e.g., Red and Green) can accidentally touch, causing incorrect color mixing or one color to override another. Look very closely at the cut marks and connector points for any accidental bridging of the copper pads. You can carefully separate them with a sharp utility knife if found.
Inspecting Controller Connections
Ensure the wires from your RGB/RGBW strip are correctly connected to your controller. Each color channel (R, G, B, W) and the common positive (+) should have its own terminal. If they’re mixed up, the colors will be wrong. Double-check the labeling on both the strip and the controller.
Faulty IC Chip (Addressable Strips)
For addressable LED strips (like WS2812B or SK6812), each segment has a tiny integrated circuit (IC) that controls the individual LEDs. If an IC fails, it can cause the LEDs after it to not light up or display incorrect colors. This is more difficult to repair and often requires replacing the faulty segment. In some cases, a single faulty IC can prevent the entire rest of the strip from working, as the data signal can’t pass through it.
Advanced Troubleshooting and Prevention
Sometimes the problem isn’t obvious, or you want to prevent future headaches. This section covers some more advanced considerations and best practices.
Voltage Drop and Signal Integrity
Long runs of LED strips can suffer from voltage drop, especially thinner strips or those with lower copper content. This means the LEDs at the end of the strip receive less voltage and thus appear dimmer, or even change color slightly on multi-color strips.
Power Injection
For longer runs (typically over 5 meters for 12V or 10 meters for 24V, depending on wattage), you’ll need to “inject” power at multiple points along the strip. This involves running additional positive and negative wires from your PSU or controller to the middle or end of the strip, ensuring consistent voltage across its entire length.
Thicker Gauge Wires
When extending LED strips or running power injection lines, use appropriately sized (thicker gauge) wires. Thicker wires have less resistance and reduce voltage drop. Consult wire gauge charts based on the current (amperage) and length of your run.
Data Signal Repeaters (Addressable Strips)
For very long runs of addressable LED strips, the data signal can degrade. A data signal amplifier or repeater can be used to boost the signal at regular intervals, ensuring reliable data transmission to all LEDs.
Controller Malfunctions
While we’ve focused on the strip and power, the controller (for dimming, color changing, or addressing) can also be a source of problems.
Remote Control Issues
If your remote isn’t working, first check the battery. Ensure there’s a clear line of sight between the remote and the controller’s IR receiver (if applicable). Sometimes, the IR receiver itself can be blocked or damaged. For RF remotes, try re-pairing it with the controller according to the manufacturer’s instructions.
Controller Failure
If the controller itself seems unresponsive or is sending incorrect signals despite a good power supply and working strip, it might have failed. There’s usually no easy repair for a failed controller; replacement is typically the only option. Test it by bypassing it and connecting the strip directly to the PSU (if it’s a single-color strip and the PSU matches the strip’s voltage).
Environmental Factors and Protection
LED strips are sensitive to their environment, and proper installation can prevent many future issues.
Heat Dissipation
LEDs generate heat. While they are efficient, prolonged overheating dramatically shortens their lifespan.
- Mount on Metal Surfaces: Whenever possible, mount LED strips on aluminum profiles or other metal surfaces. These act as heat sinks, drawing heat away from the LEDs.
- Avoid Enclosed Spaces: Don’t install high-power strips in completely enclosed, unventilated spaces where heat can build up.
- Don’t Overdrive: Ensure your PSU and controller are correctly matched to the strip’s voltage and current requirements. Overdriving a strip with too much current will cause excessive heat.
Moisture Protection
Even “waterproof” LED strips (IP65, IP67, IP68) have limitations.
- Proper Sealing: For outdoor or wet area installations, ensure all cuts, connections, and end caps are properly sealed with silicone or waterproof heat shrink tubing to prevent water ingress.
- Drainage: Avoid installing strips in areas where water can pool around them.
- UV Exposure: While some strips have UV-resistant coatings, prolonged direct sunlight can degrade the epoxy/silicone over time, leading to yellowing or cracking. Use UV-stable aluminum profiles for outdoor applications.
Static Electricity (ESD)
LEDs and their control chips are sensitive to electrostatic discharge. Always ground yourself or use an anti-static wrist strap when handling bare LED strips or making connections, especially in dry environments.
Maintenance Tips for Longevity
A little preventative care goes a long way in ensuring your LED strips last.
Regular Cleaning
Dust and debris can accumulate on LED strips, especially in exposed installations. A build-up of dust can insulate the strip, leading to higher operating temperatures and reducing light output. Gently wipe them clean with a dry, soft cloth. For outdoor strips, a damp cloth might be necessary, but ensure the strip is off and completely dry before reactivating.
Periodic Connection Checks
Every so often, especially after initial installation, it’s a good idea to visually inspect all connections – power, controller, and strip connectors. Ensure everything is still snug and no wires have come loose due to vibration, temperature changes, or accidental tugging.
Avoid Excessive Bending or Kinking
While LED strips are flexible, they are not invincible. Repeated or sharp bending, especially near components or solder joints, can break internal traces or cause components to detach. Plan your installation carefully to avoid sharp turns. If a corner is necessary, use dedicated corner connectors or cut and re-connect strips at a 90-degree angle.
By understanding these common issues and employing these troubleshooting and repair techniques, you’ll be well-equipped to diagnose and fix most problems with your LED strip lighting, keeping your space beautifully illuminated for years to come.